CPT Execute Protection Plan
Select a protection plan from the task list on the Home screen then click the Execute Plan button to review, save and execute it.

Figure 53: Execute a protection plan.
Plan details are retrieved from the server and automatically populate fields for review and editing.
- Edit protection plan execution parameters by clicking the Edit links.
- vCenter Credentials
- Management Server
- DRVAs
- Storage Sites
- Domains
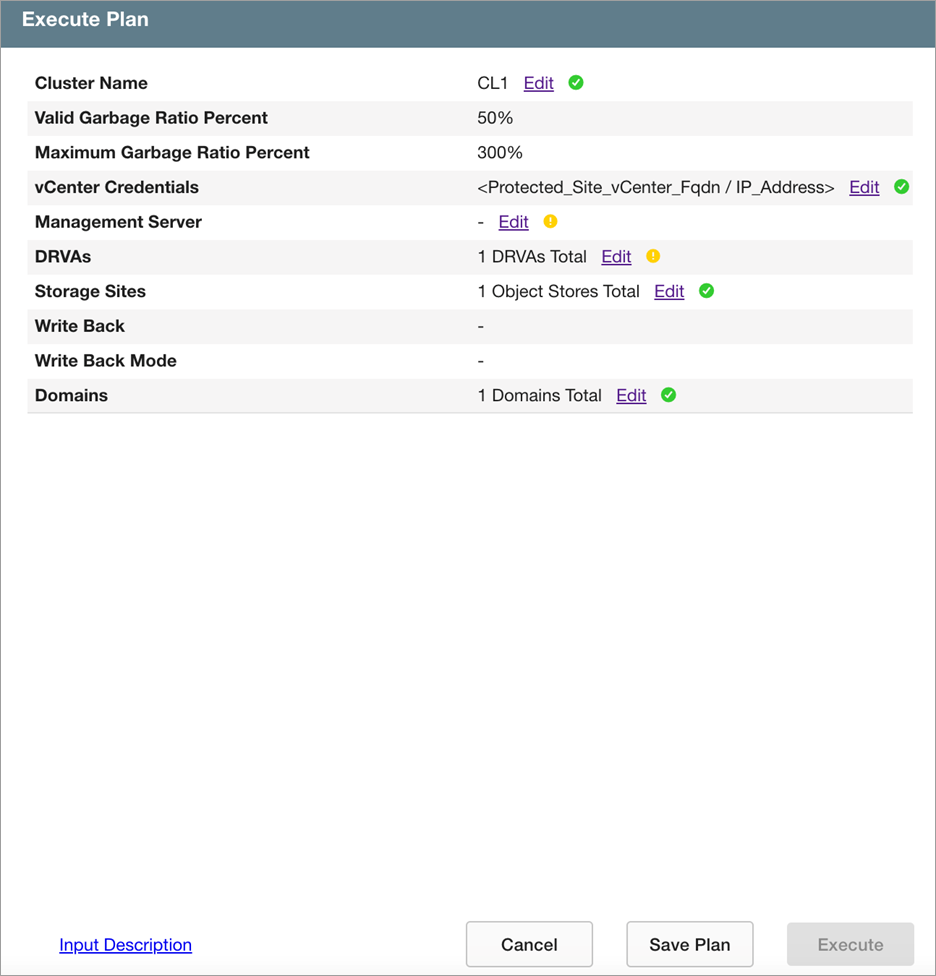
Figure 54: Protection plan execution parameters.
Note: Click the Input Description link to view help text about the input fields of the screen.
- After the plan parameters have been configured as needed, click the Save Plan button to save its details.
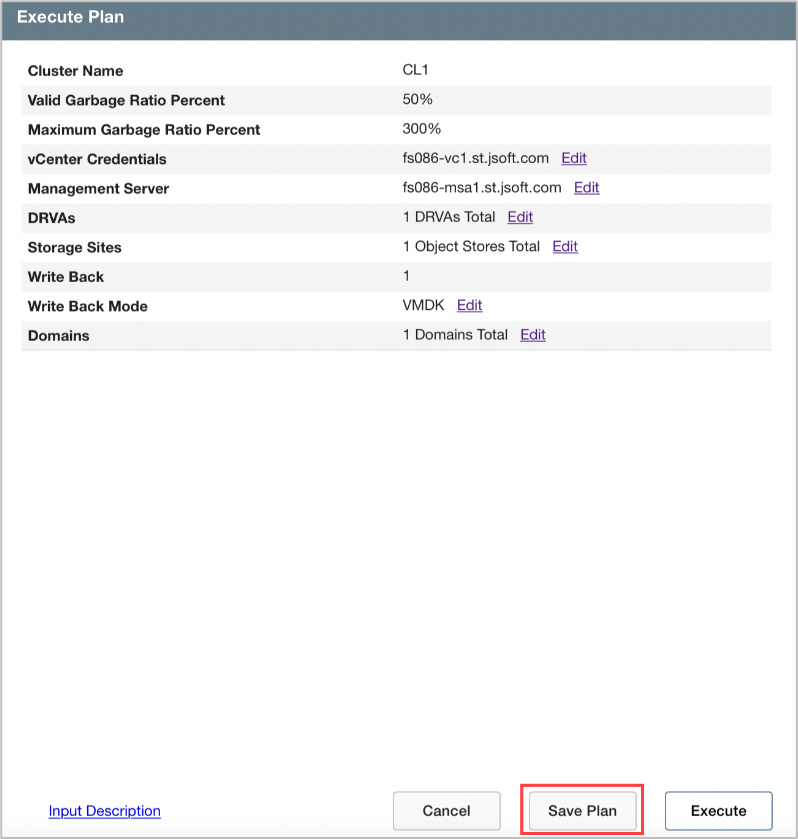
Figure 55: Save the protection plan execution parameters.
- Plan details are stored as .yml files written to individual folders under the directory jetdr/plans/.
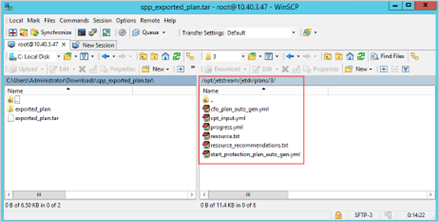
Figure 56: Plan details are saved as .yml files.
- Click the Execute button to begin automated execution of the plan.
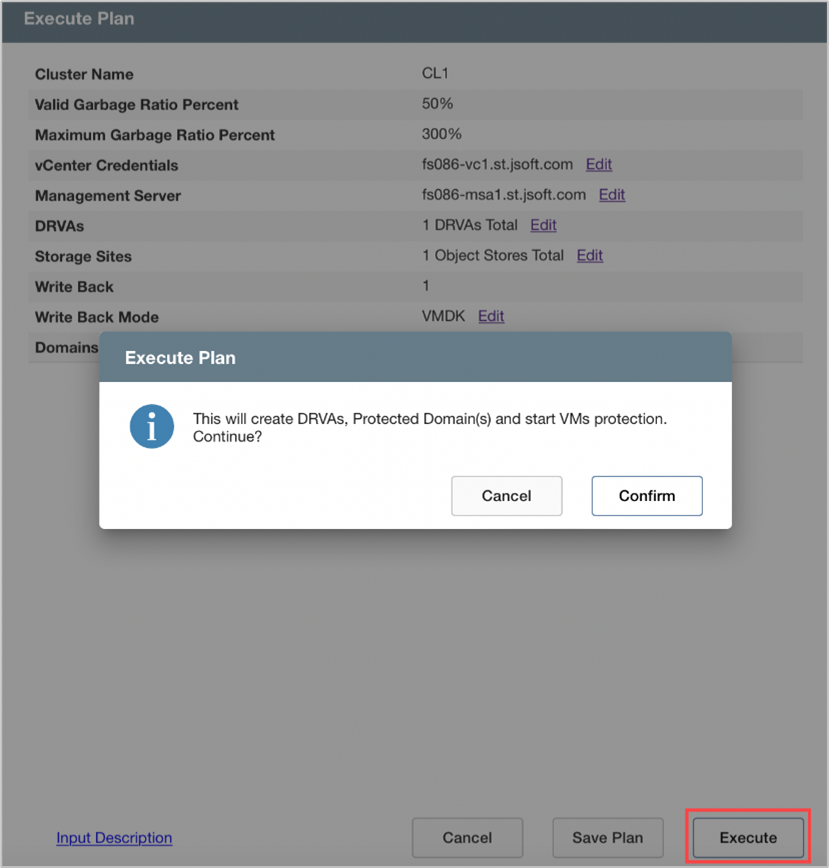
Figure 57: Execute the saved protection plan.
- The following tasks will be performed:
- Create a storage site
- Deploy DRVA(s)
- Create Protected Domain(s)
- Start VM protection
Note: The automated sequence of tasks performed may differ depending upon the type of protection plan being executed.
- Protection plan execution will be added to the task list.
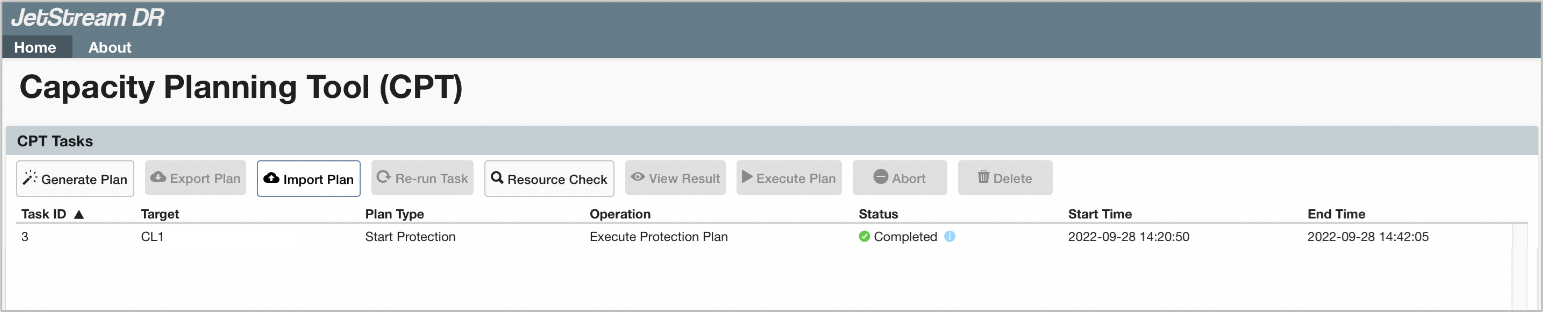
Figure 58: Protection plan execution started.
- Click the blue info icon under the Status column (for any executed task) to open a dialog window displaying task step details and status.
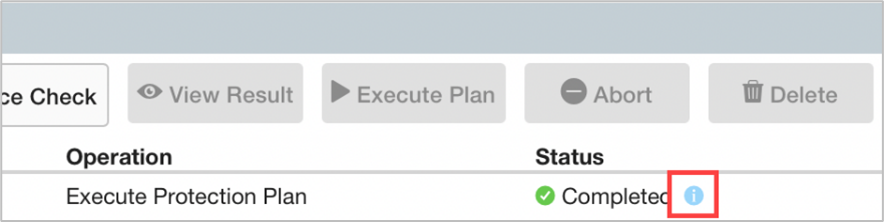
Figure 59: Click the blue info icon to view status details.
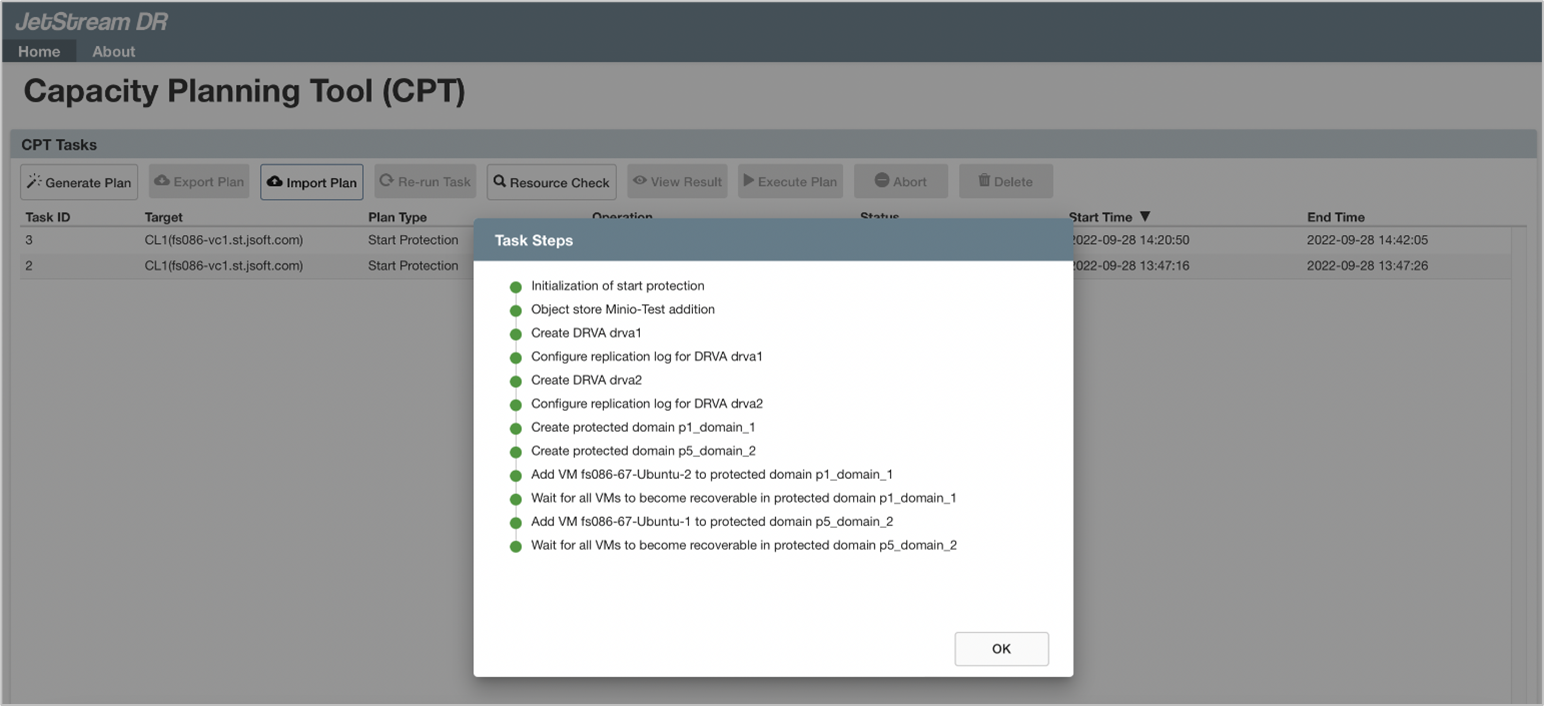
Figure 60: Execution task details.